はじめに
Flutterのダイアログには、AlertDialogとSimpleDialogの2種類があります。
この2種類のダイアログはDialogというwidgetをラップして実装されています。
Dialog widgetを直接使用することもできますが、公式ではAlertDialogかSimpleDialogを使うことが推奨されています。
Rather than using this widget directly, consider using AlertDialog or SimpleDialog, which implement specific kinds of Material Design dialogs.
AlertDialogとSimpleDialogには、contentPadding、insetPaddingプロパティというものがあり、それぞれ以下の役割を果たします。
-
contentPadding
- ダイアログの
content周りのpaddingを指定
-
insetPadding
- ダイアログの外側の
MediaQueryData.viewInsetsに追加されるpaddingの量を指定
- 画面の幅とダイアログの間の最小スペースを定義
上記の役割を踏まえると、今回のタイトルにある「Dialogと画面の隙間を24pxに設定したい」を実現させるには、insetPaddingの値を24pxにすれば良さそうですね…?
いざ実装へ
まず、シンプルなAlertDialogを実装します。
 1
 2
 3
 4
 5
 6
 7
 8
 9
10
11
12
13
14
15
16
17
18
19
|
showDialog(
  context: context,
  builder: (context) {
    return AlertDialog(
      title: const Text('AlertDialog Title'),
      content: const Text('AlertDialog description'),
      actions: <Widget>[
        TextButton(
          onPressed: () => Navigator.pop(context, 'Cancel'),
          child: const Text('Cancel'),
        ),
        TextButton(
          onPressed: () => Navigator.pop(context, 'OK'),
          child: const Text('OK'),
        ),
      ],
    );
  },
)
|
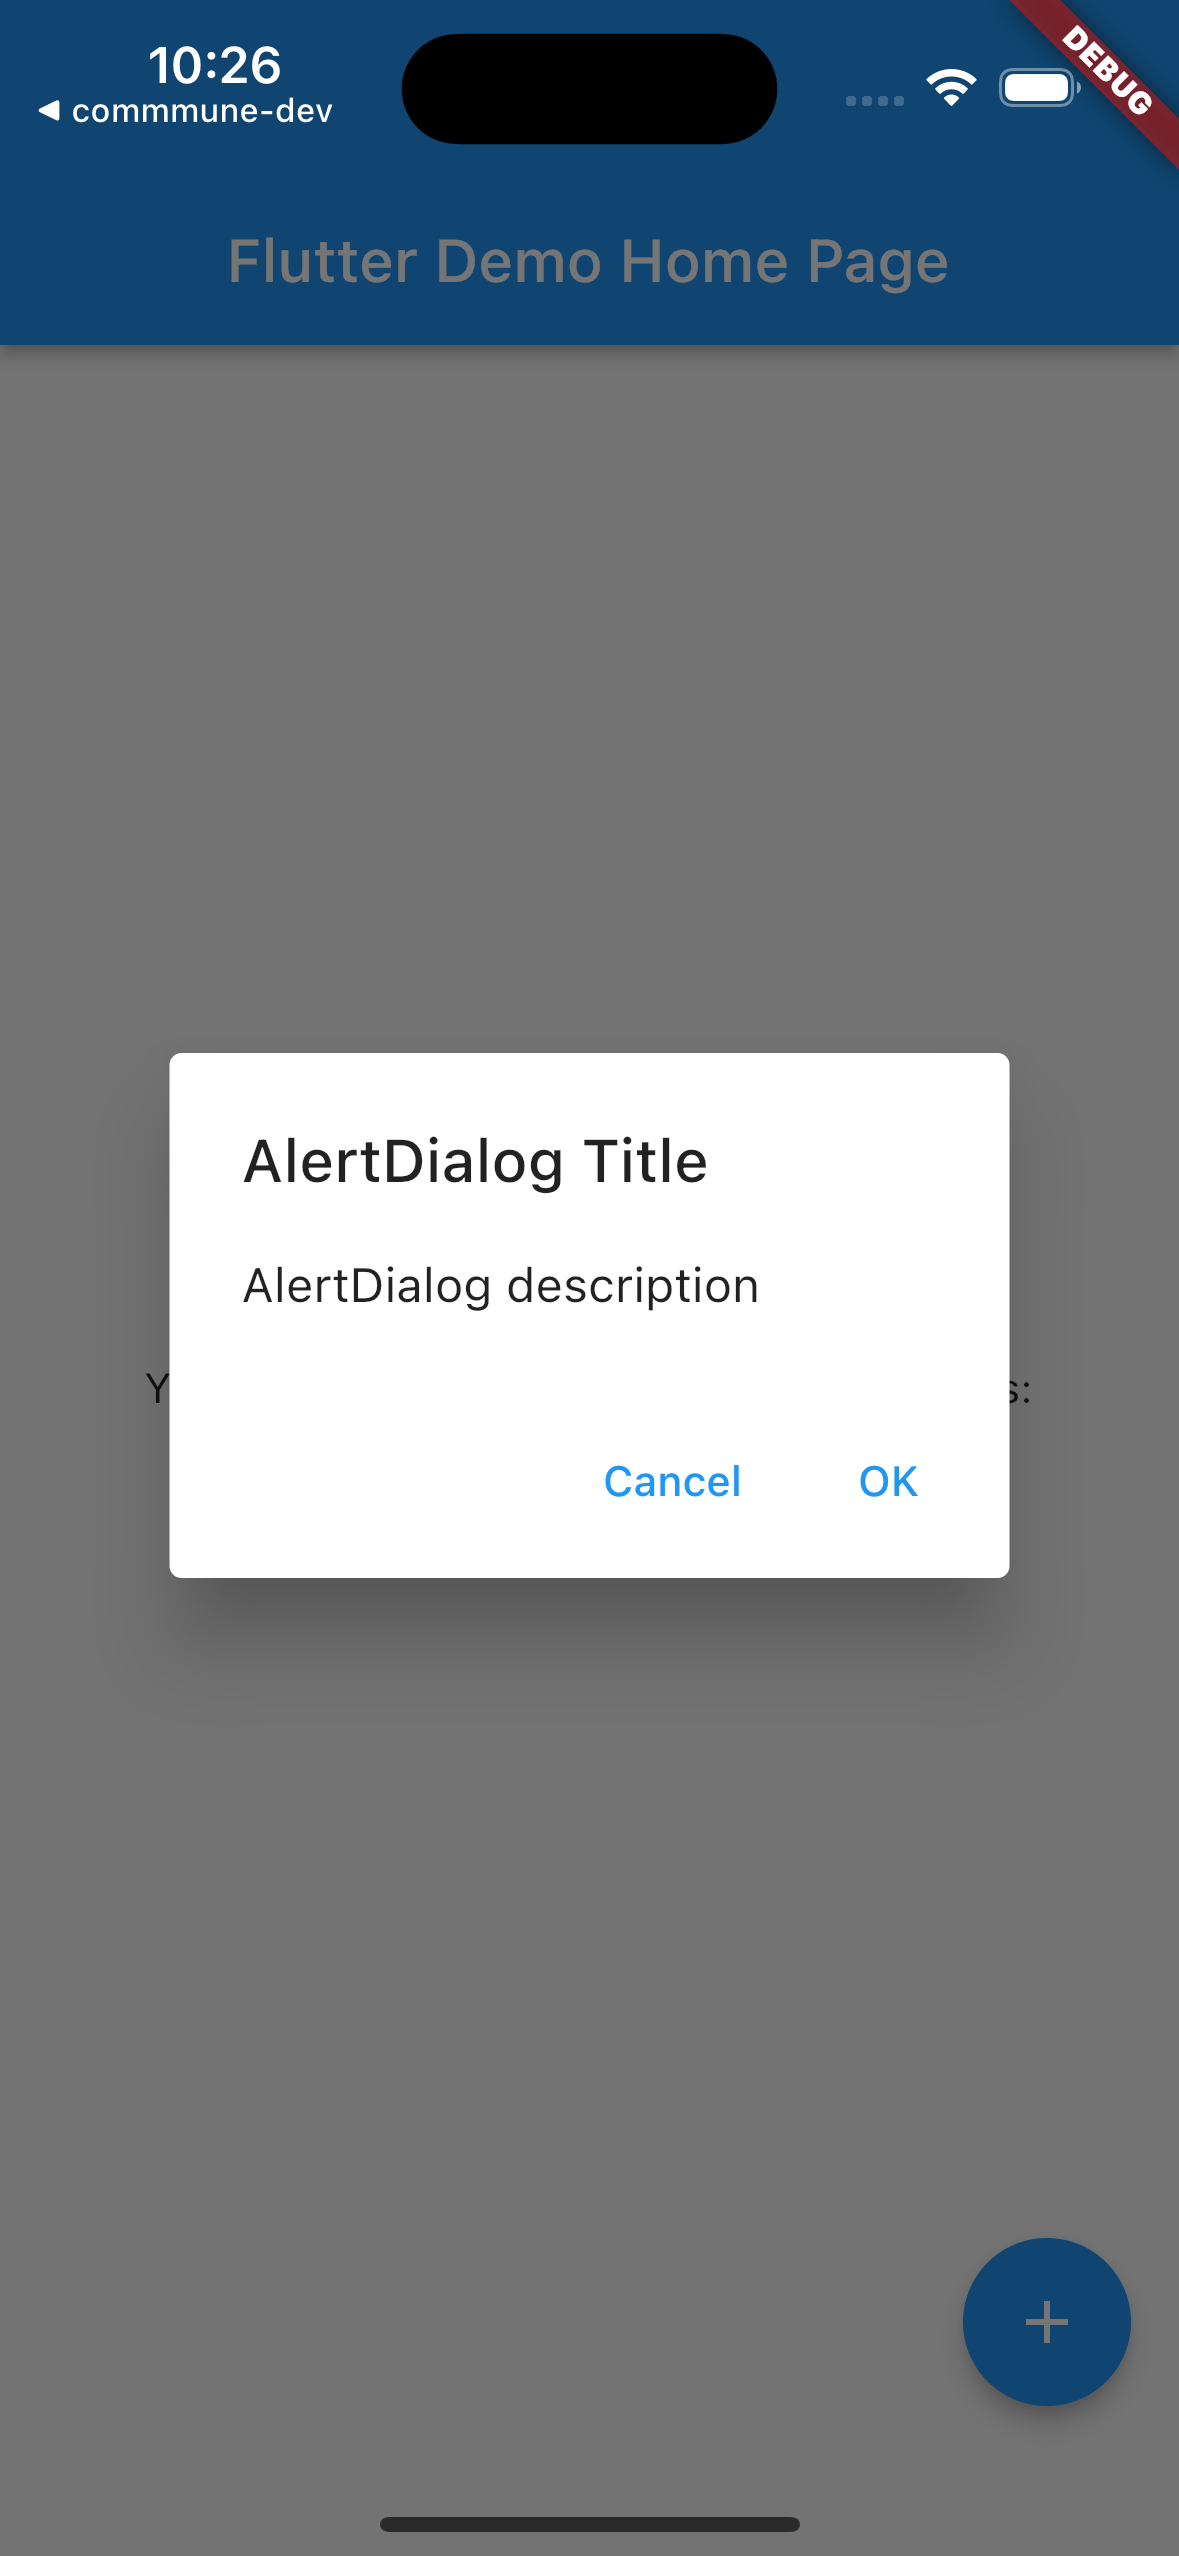
このダイアログに対してinsetPaddingを付与してdialogと画面の幅を24pxに設定するようにします。
1
2
3
4
5
|
AlertDialog(
+ insetPadding: const EdgeInsets.symmetric(horizontal: 24),
  title: const Text('AlertDialog Title'),
  content: const Text('AlertDialog description'),
  ...
|

…なにも変わらない😇
なぜダイアログの幅が変わらない?
結論から言うと、InsetPaddingはダイアログの横幅を大きくすることはできないからです。
以下のように画面幅からダイアログの横幅を引いた値よりも指定したInsetPaddingの値が大きい時にInsetPaddingは機能します。
1
2
3
|
ダイアログの横幅 > 画面幅 - InsetPaddingの値(今回は24px) * 2

InsetPadding * 2 > 画面幅 - ダイアログの横幅
|
ダイアログの横幅が変わらなかったのは、指定したInsetPaddingの値よりも画面幅からダイアログの幅を引いた値の方が大きかったからです。
なので、まずはダイアログの横幅を画面いっぱいにし、そこからInsetPaddingを指定することで、タイトルにある「Dialogと画面の隙間を24pxに設定する」が実現できそうです。
ダイアログを画面幅と同じにする
AlertDialogのcontentをSizedBoxで囲み、その横幅にMediaQuery.of(context).size.widthを指定することで、ダイアログの横幅と画面幅を同じにします。(titleをSizedBoxで囲んでもokです)
1
2
3
4
5
6
7
|
AlertDialog(
  insetPadding: const EdgeInsets.symmetric(horizontal: 0),
  title: const Text('AlertDialog Title'),
  content: SizedBox(
    width: MediaQuery.of(context).size.width,
    child: const Text('AlertDialog description'),
  ),
|
insetPaddingはデフォルトがEdgeInsets.symmetric(horizontal: 40.0, vertical: 24.0)となっています。
今回は画面いっぱいにダイアログを広げるところを見せるために、horizontal: 0を指定しています。
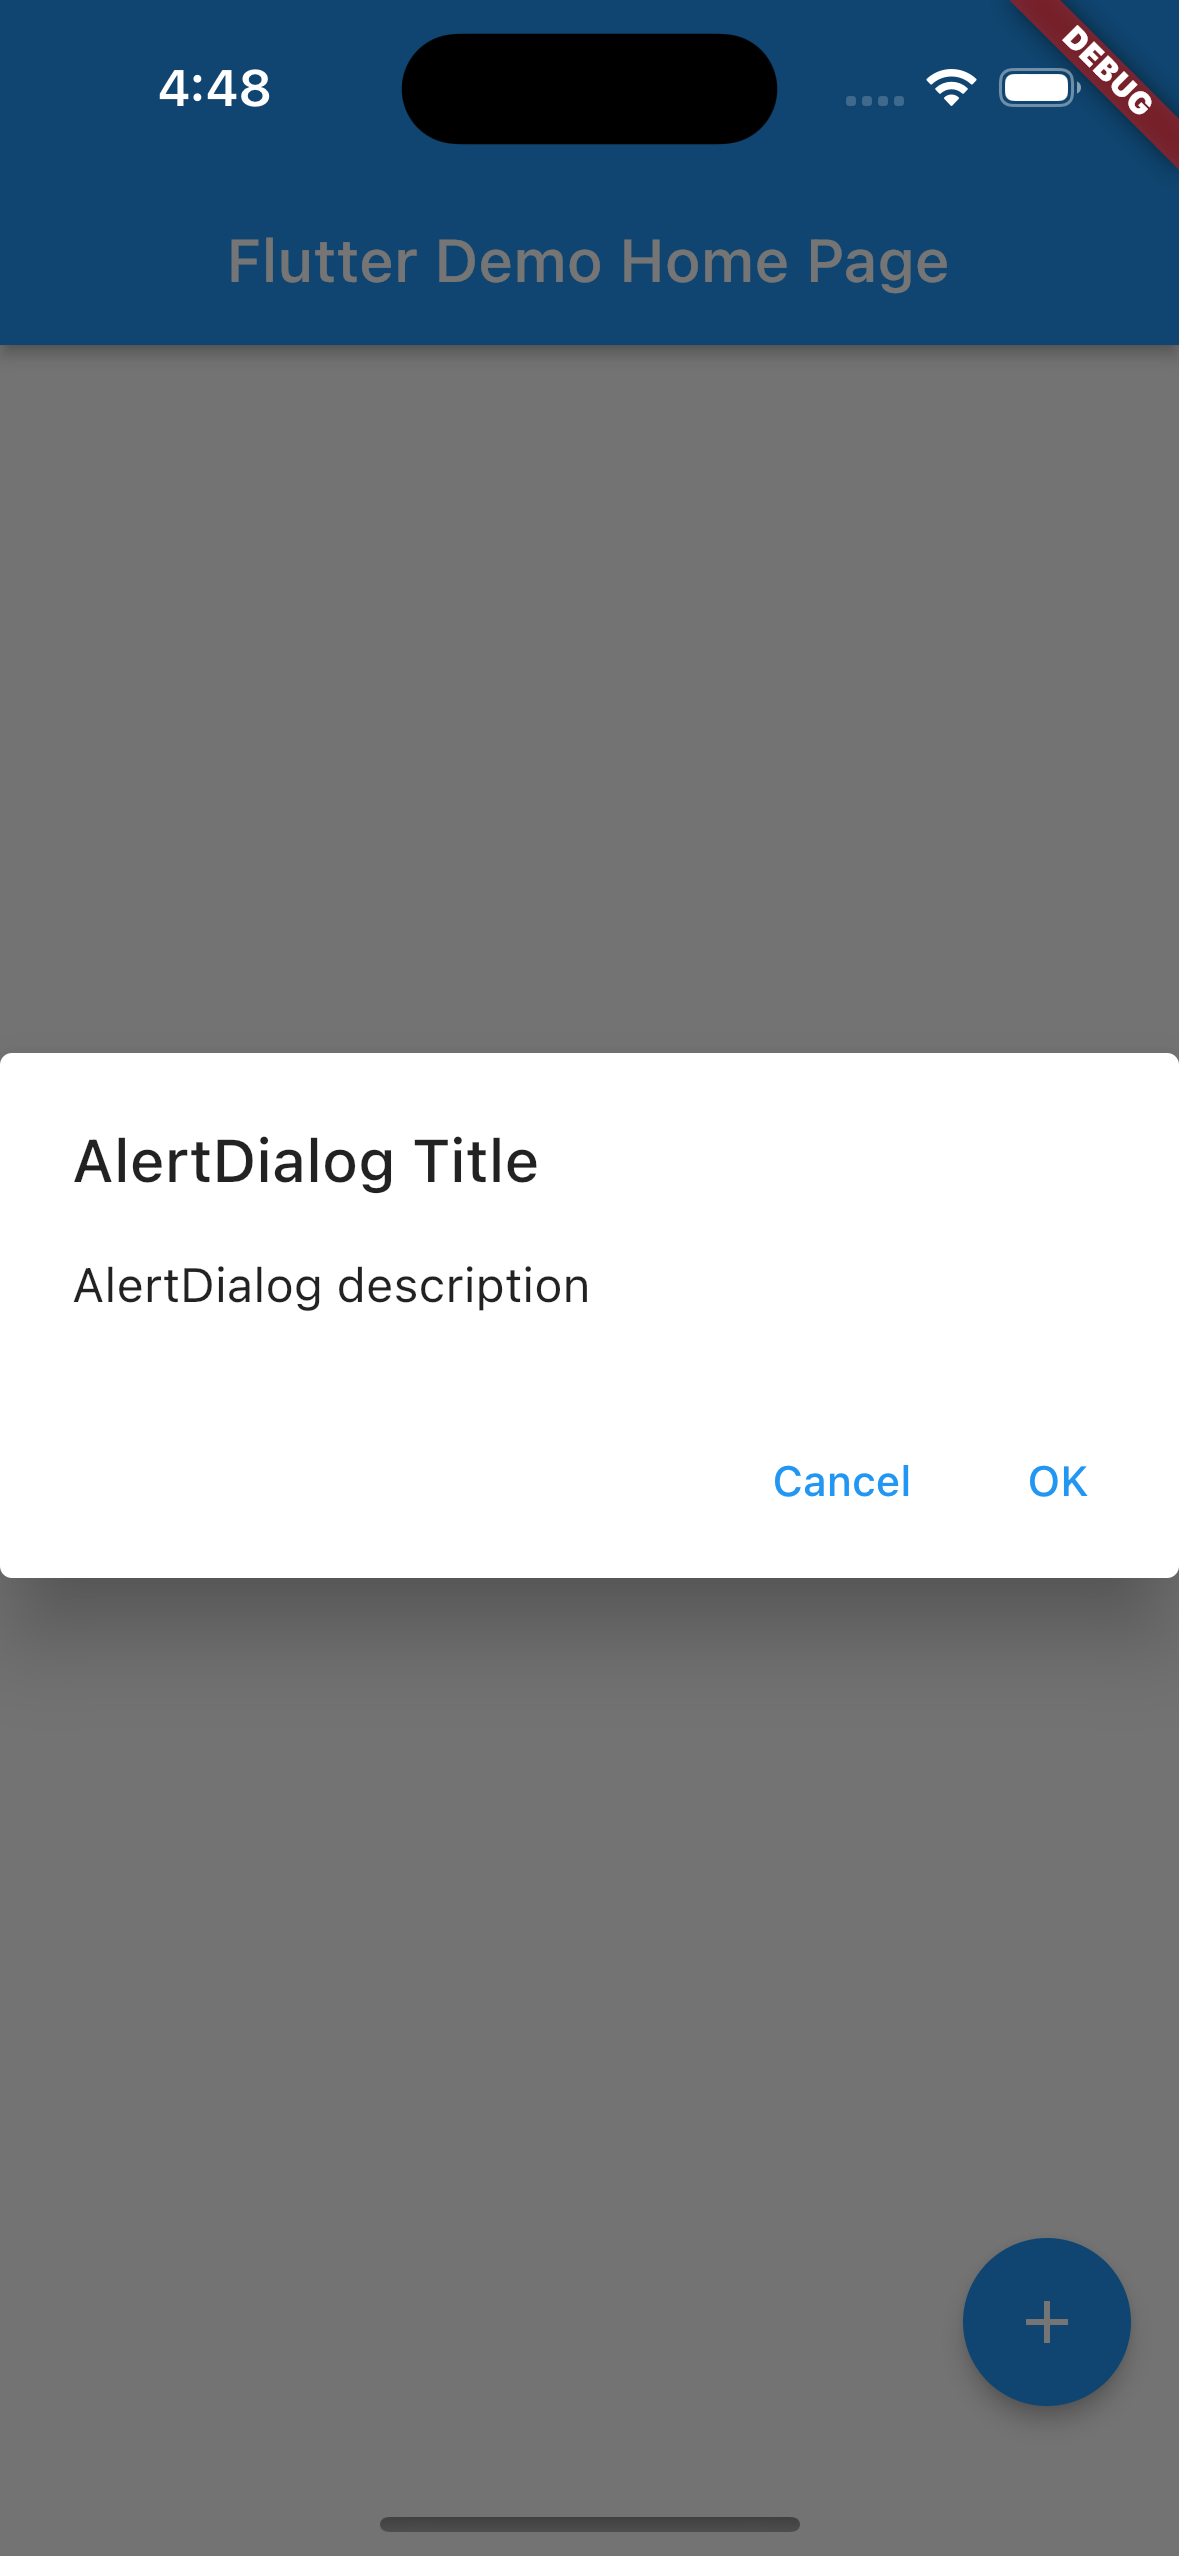
画面いっぱいにダイアログを広げられましたね。
ダイアログと画面の隙間を24pxに設定する
ダイアログと画面幅を同じにできたので、あとはInsetPaddingを24pxに設定するだけです。
 1
 2
 3
 4
 5
 6
 7
 8
 9
10
11
12
13
14
15
16
17
18
|
AlertDialog(
  insetPadding: const EdgeInsets.symmetric(horizontal: 24),
  title: const Text('AlertDialog Title'),
  content: SizedBox(
    width: MediaQuery.of(context).size.width,
    child: const Text('AlertDialog description'),
  ),
  actions: <Widget>[
    TextButton(
      onPressed: () => Navigator.pop(context, 'Cancel'),
      child: const Text('Cancel'),
    ),
    TextButton(
      onPressed: () => Navigator.pop(context, 'OK'),
      child: const Text('OK'),
    ),
  ],
);
|
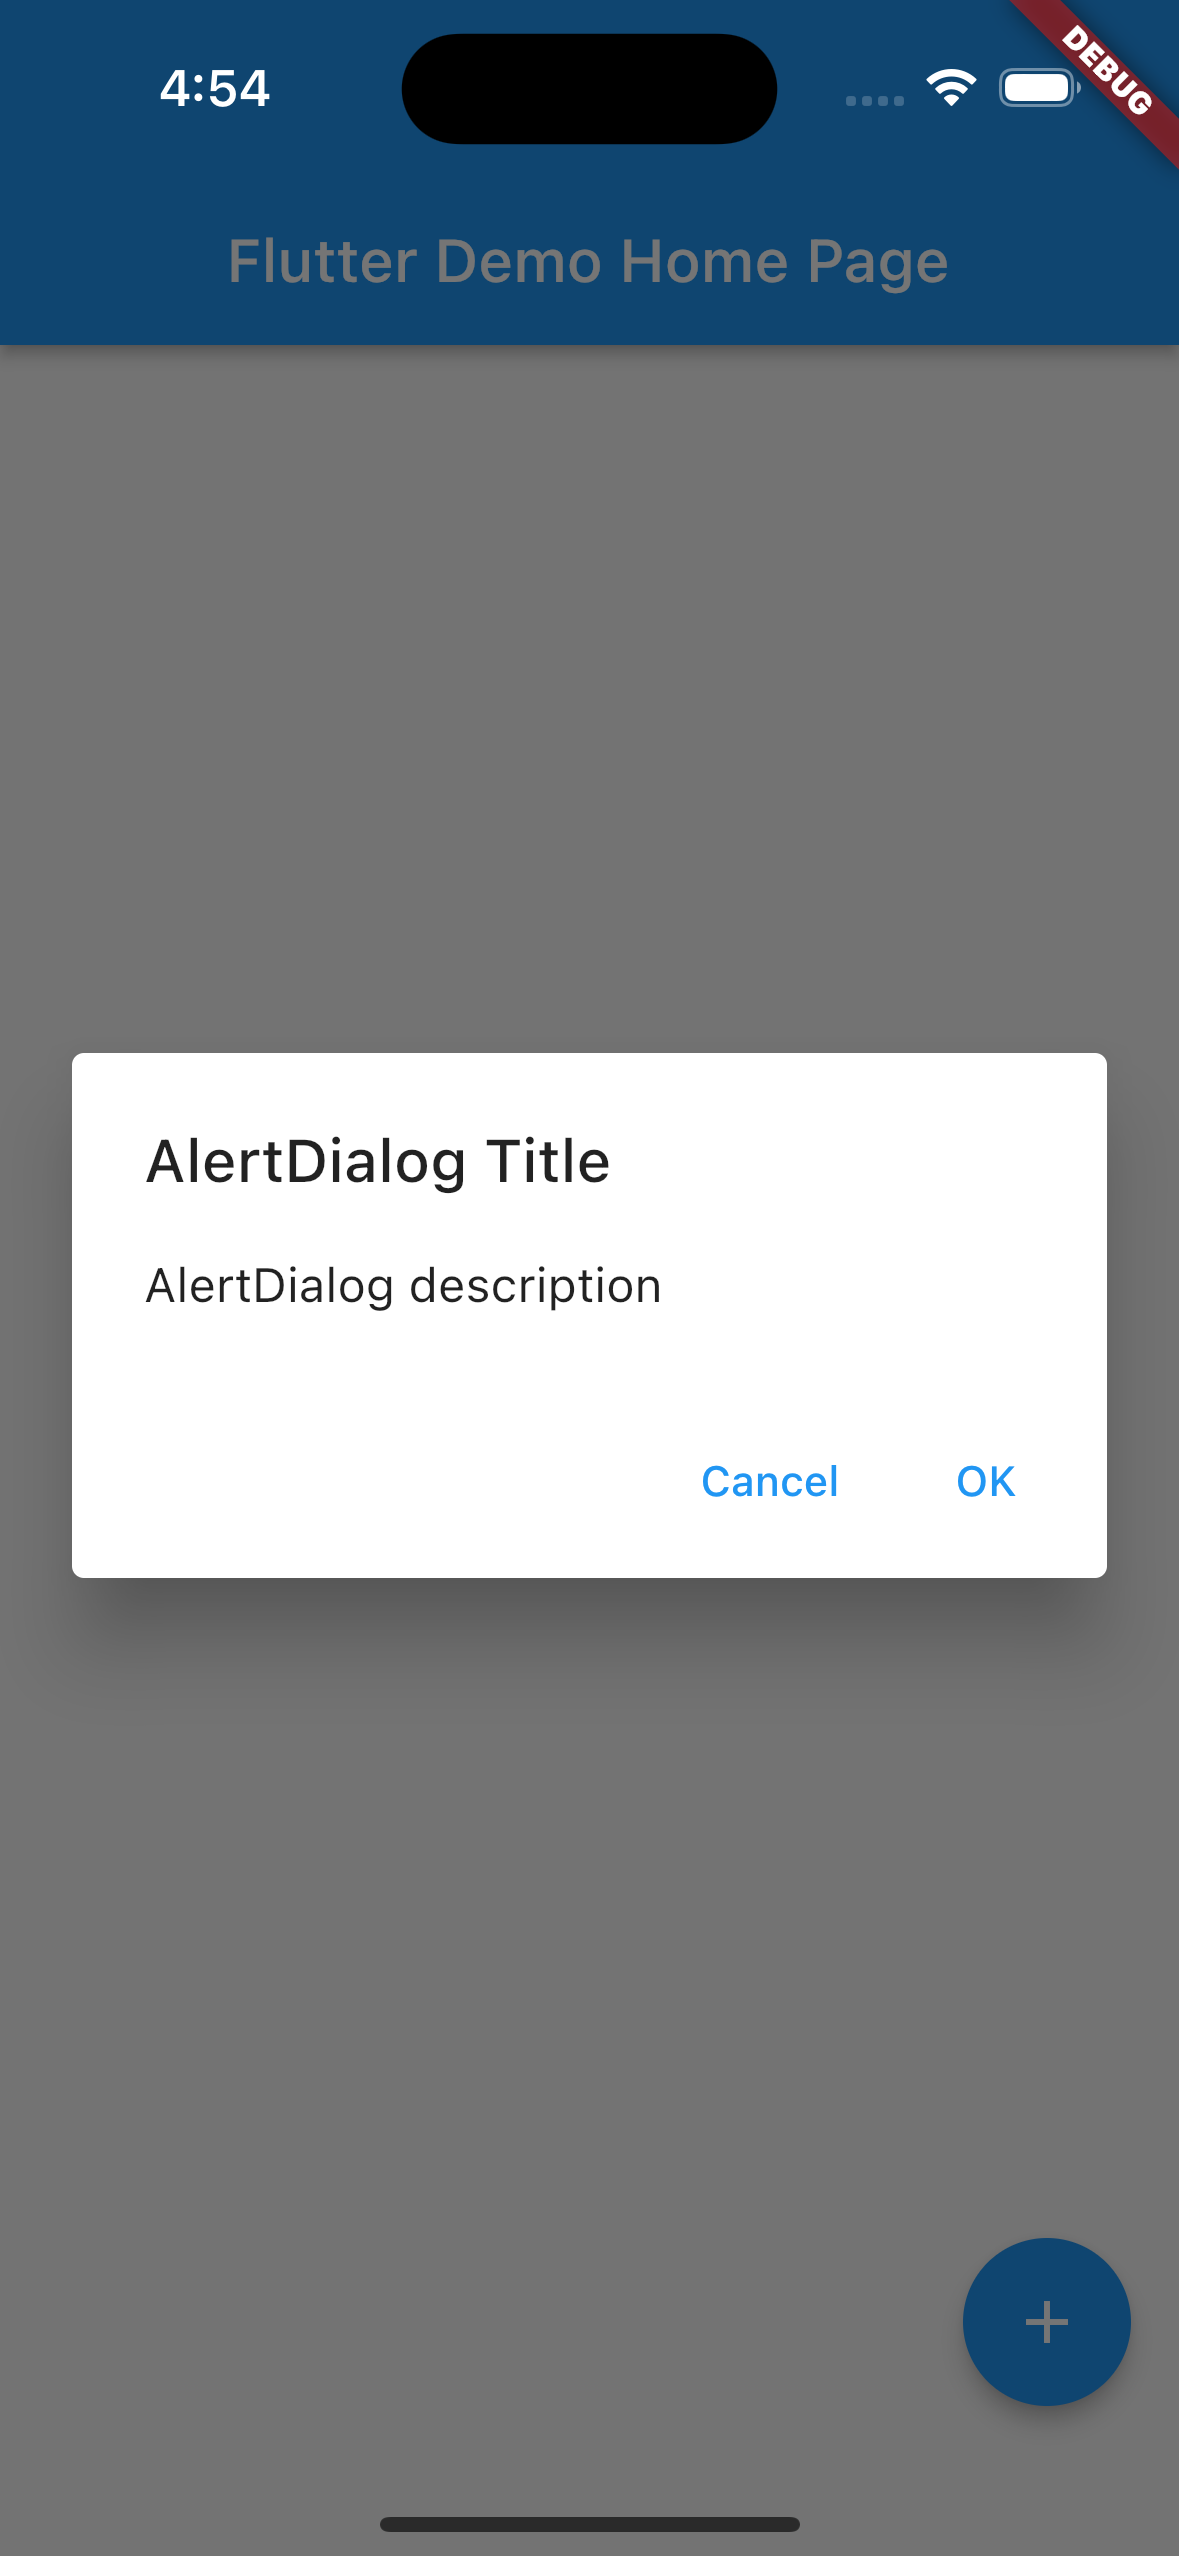
ダイアログと画面の隙間を24pxに設定できました🎉
今回詰まった理由
AlertDialogにはwidthプロパティがなく、明示的にwidthの指定をしていないため、insetPaddingの値を調整したらダイアログの横幅が変わると勘違いしていました。
そこで、AlertDialogがラップしているDialogの実装を見ると、丁寧にConstrainedBoxでminWidth: 280.0が設定してありました。
 1
 2
 3
 4
 5
 6
 7
 8
 9
10
11
12
13
14
15
16
|
dialogChild = Align(
  alignment: alignment ?? dialogTheme.alignment ?? defaults.alignment!,
  child: ConstrainedBox(
    constraints: const BoxConstraints(minWidth: 280.0), // ここ
    child: Material(
      color: backgroundColor ?? dialogTheme.backgroundColor ?? Theme.of(context).dialogBackgroundColor,
      elevation: elevation ?? dialogTheme.elevation ?? defaults.elevation!,
      shadowColor: shadowColor ?? dialogTheme.shadowColor ?? defaults.shadowColor,
      surfaceTintColor: surfaceTintColor ?? dialogTheme.surfaceTintColor ?? defaults.surfaceTintColor,
      shape: shape ?? dialogTheme.shape ?? defaults.shape!,
      type: MaterialType.card,
      clipBehavior: clipBehavior,
      child: child,
    ),
  ),
);
|
これのおかげで明示的にwidthを指定しなくてもDialogに280ピクセルの横幅が付与されていました。😇
最後に
昔にも似たようなことで詰まった覚えがあるのですが、すっかり忘れていたことがわかったので、備忘録のためにも今後もアウトプットを続けていきたいと思います💪
参考